- Home Old school pinball <1985
- Grand Prix (EM) 1976
- Firepower (SS) 1980
- Space Mission (EM)1976
- Genie (SS) 1979
- Magic Castle (SS) 1984
- Black Knight (SS) 1980 New school pinball >1985
- High Speed (Sys11) 1986
- Earthshaker (Sys11) 1989
- CFTBL (WPC) 1992 Arcade Project
- JK-Cabinet with MAME Contents Earthshaker
- Playfield Refurbishing
- Playfield Painting
- Playfield Parts
- Playfield Re-build
- Before-After Pictures
- Refurbishing Diary
- Finished project
- Documents - Flyer
|
Languages |
|
|
WMS Eartshaker Playfield Refurbishing - Part IV
REFURBISHING OF PLAYFIELD PARTS
After the paint-touch ups of the playfield was done I started with the cleaning of the playfield parts. On the previous pinball's that I have refurbished this have been a time consuming and sometimes boring business. A lot of rubbing and use of solvent as Mr. Muscle kitchen remover without 100% success to remove all dirt in hard to get places on the parts. When cleaning the parts to the Earthshaker I got a tip to use a ultrasonic cleaner which remove dirt by using vibrations in a water tank - this improve the cleaning of the parts complete surface without any manual work from my side except from rinse the parts in water afterwards.
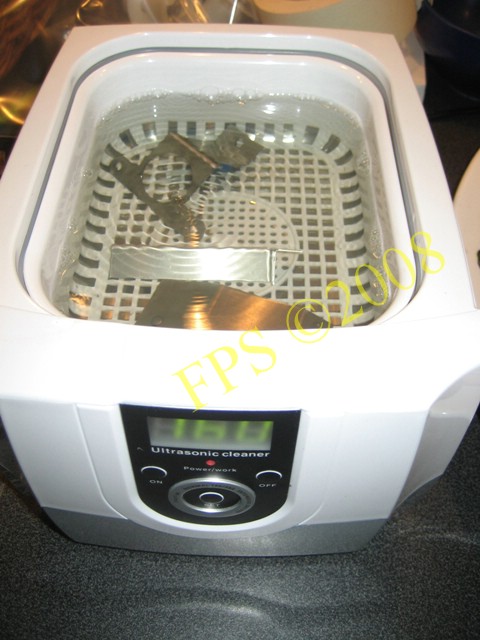
Spectacare CD-4800 70W
 |
 |
The ultrasonic washer Spectacare CD-4800 70W is perfect for cleaning of all kind of parts as, posts, screws, rubbers, plastics, metal guides and so on. It works with vibrations in the water and knock off all dirt from the parts, I add some kitchen washing solvent to the water. The utrasonic washer is highly effective with clean and fine parts. After cleaning rinse the parts in water and brush them with an nail brush to secure that all dirt is gone. If the dirt sticks really hard to the parts I run them one more time in the ultrasonic washer 3-4 minutes.
On the previous pinball's that I have refurbished I have manually cleaned and washed the parts with Mr. Muscle kitchen remover solvent and kitchen washing solvent but now I only put the parts in the ultrasonic washer and rinse the parts afterwards. I strongly recommend the ultrasonic washer and it is worth every penny as investment!
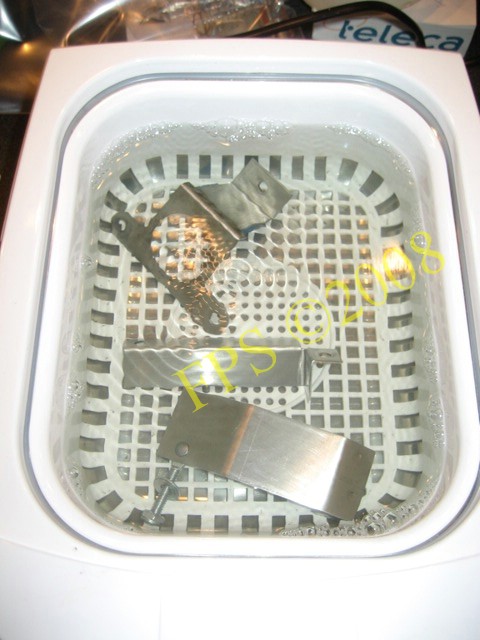
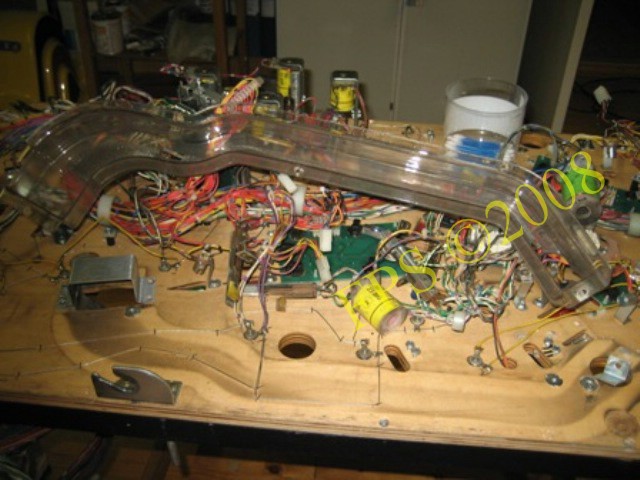
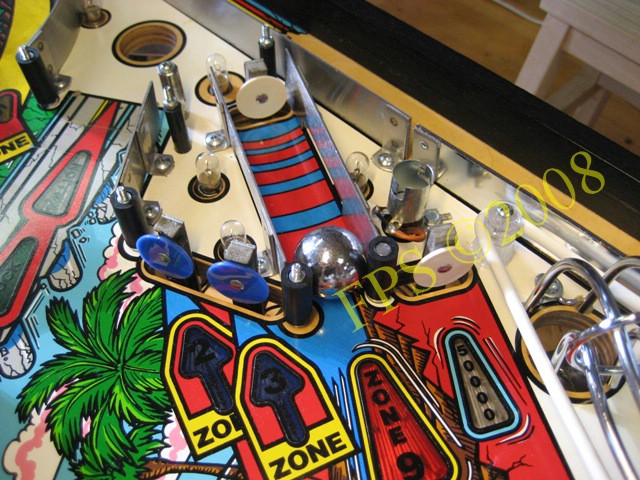
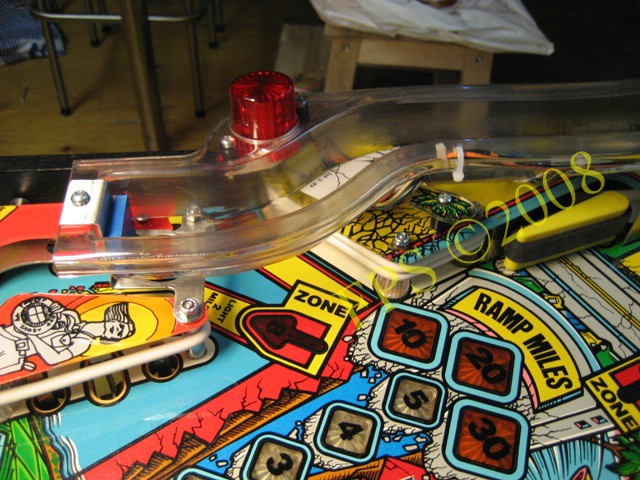
Cleaning of the right ramp - also called Fault ramp.
Playfield Parts Cleaning and Re-build
Refurbushing is the key to success
 |
 |
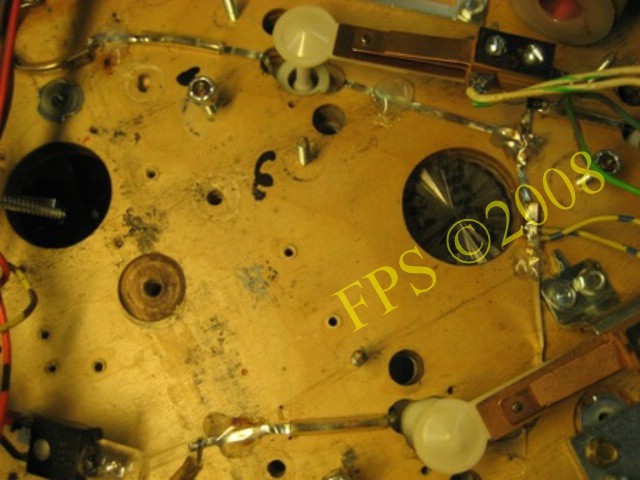
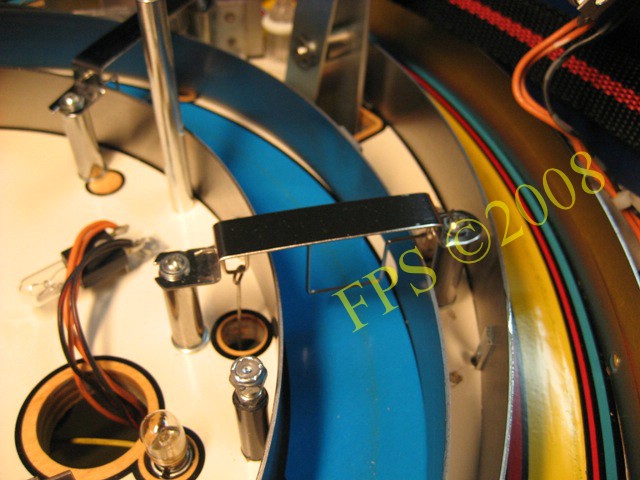
The left picture show a overview underneath the playfield . All units as kicker, ball proper, jet bumpers, drop targets is tear down for cleaning and rebuild to secure a proper function during many oncoming years. The right picture show the upper side underneath playfield - notice how much dirt there is inside and on the tunnel.
 |
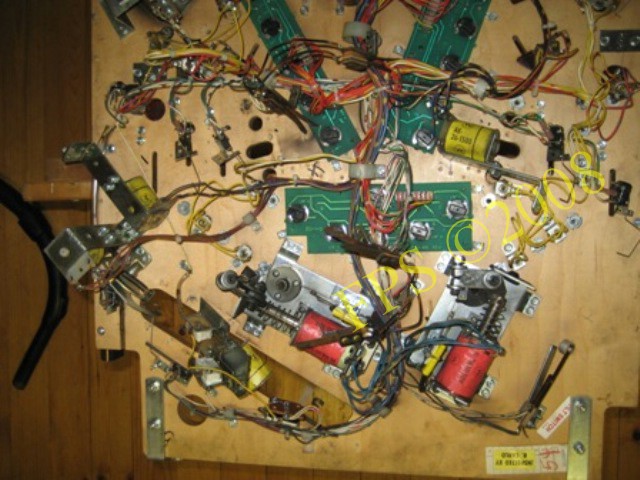 |
The left picture show the middle part underneath the playfield and the right picture the lower part underneath the playfield.
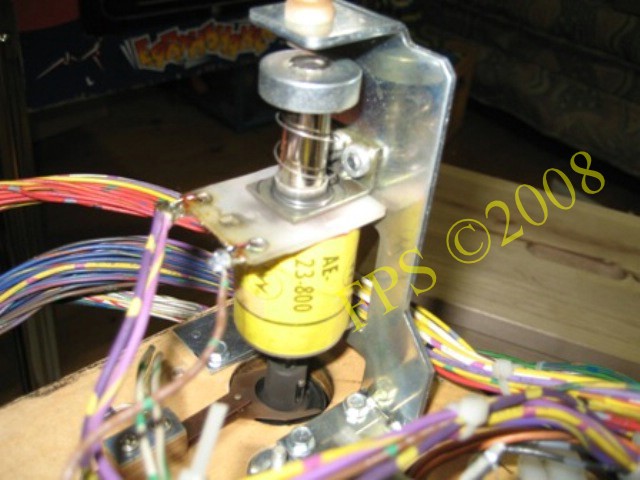
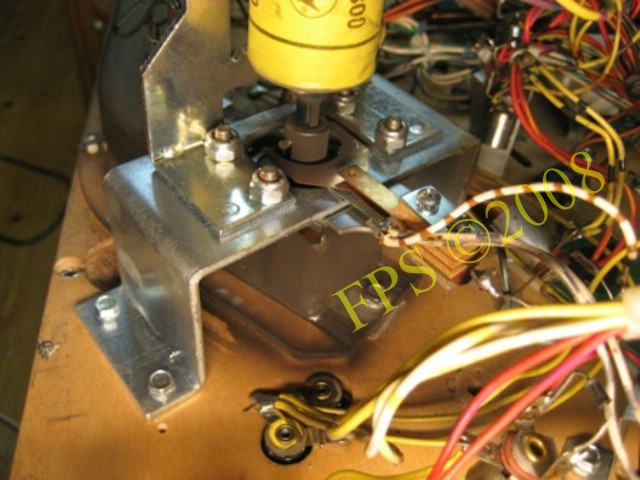
Top ball Popper assembly we can see an example of how dirty a unit underneath the playfield can be. When manually moving the unit I can feel how sticky and slow it moves due to all dirt.
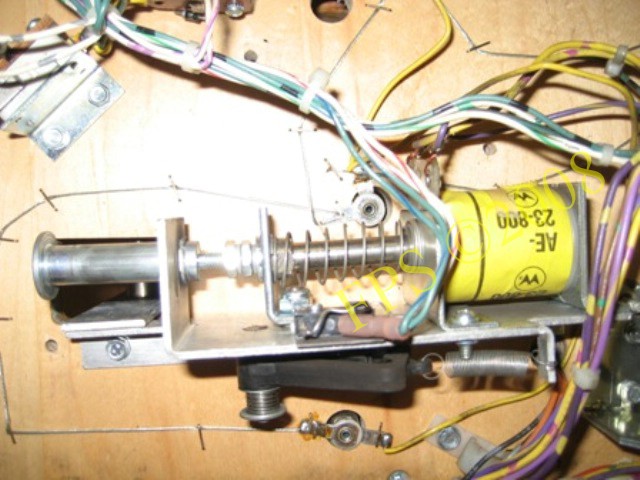
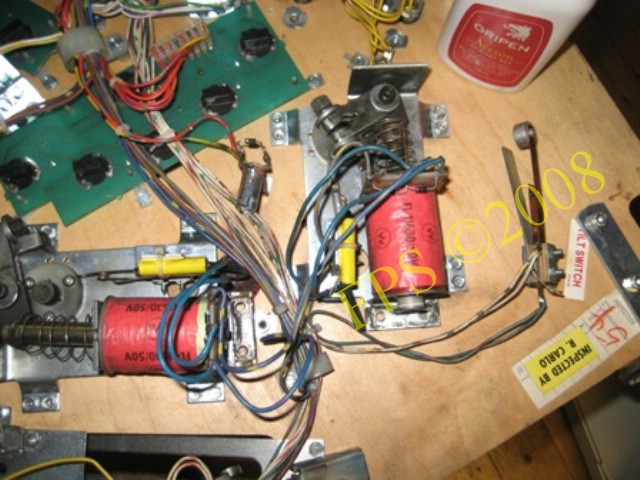
Refurbishing of the unit zone Opener mechanism.
Bottom ball popper assembly - lower part of the tunnel (ramp underneath the playfield).
Here we can see the tunnel after cleaning.
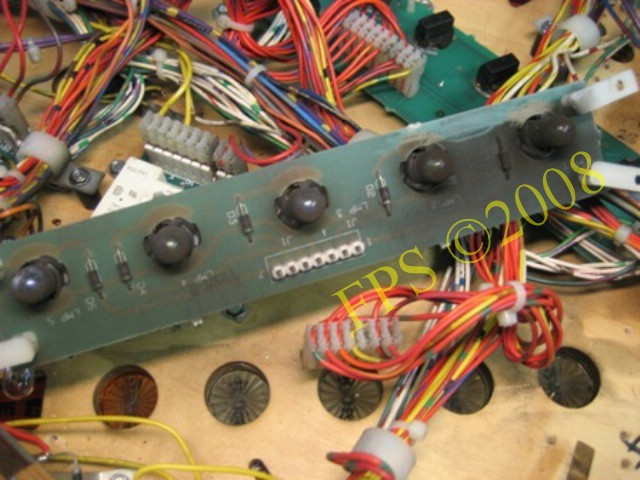
Underneath PCB (PC Board) with lamps and in the inserts a lot of dirt and carbon is collected. I clean PCB with a cloth soaked with OP100 a solvent specially for pinball's and a q-tip dipped in Novus 2.
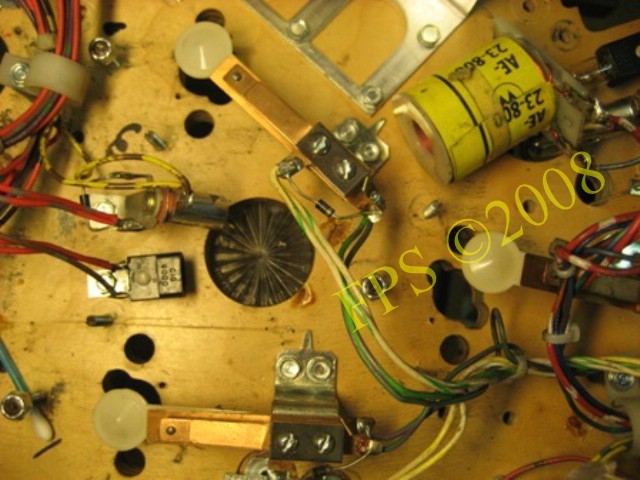
The picture show how clean the jet bumper switches is after cleaning with Acetone and Novus 2.
When cleaning and rebuilding the jet bumpers it was suitable to replace the bumper skirts to new one since these was worn. The lead wires from the lamp inside the bumper I had to solder - when soldering I followed the old trace and marks after clamps in the surface to make the connections correct.
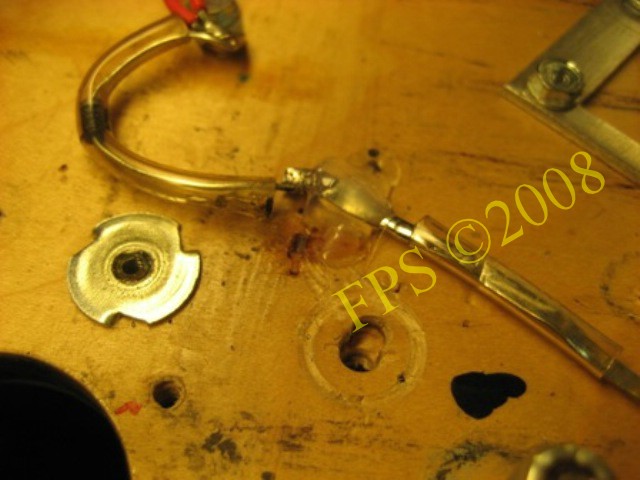
The picture show how I fix the lead wires with melt glue instead of the original clamps. Using a clamp gun had been difficult due to the limited space.
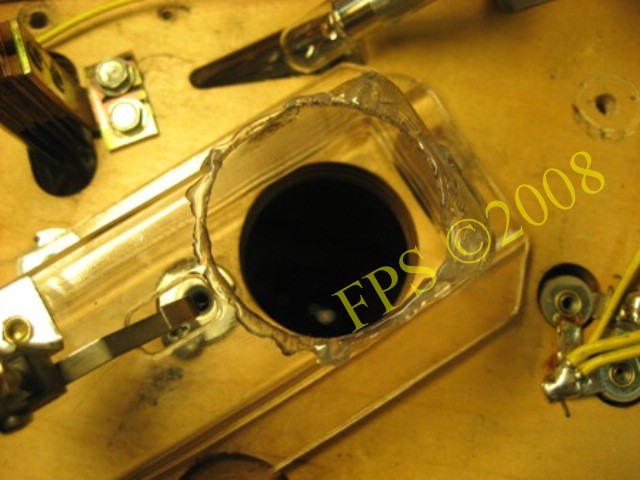
Reinforcement of the tunnel (ramp underneath playfield). The edge of the ramp can be reinforced with melt glue, before using melt glue I fix the cracks with epoxy glue. When the epoxy has dried I applies a thin coat of melt glue. Even bigger gaps, holes can be fixed with melt glue since the tunnel is not visible.
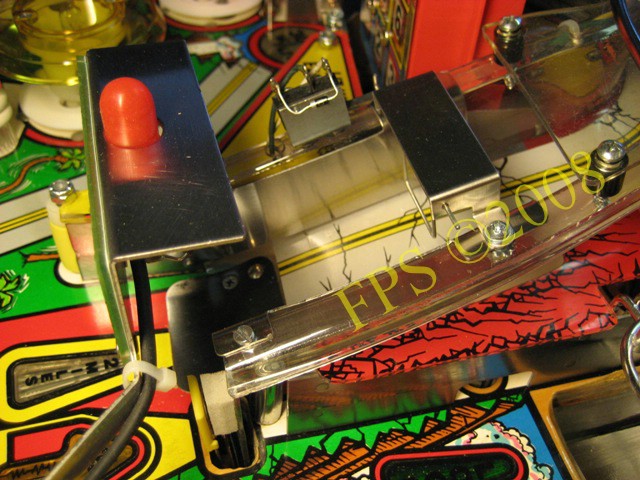
Flipper before refurbishing. I choose to replace all parts except from the coils which I measured
with the multimeter to be okay. It is important for the feeling during play to have flippers that
operate well. Parts replaced,
Often there is wear on the sleeve, plunger and coil - scratch marks is to be found on the inside of the sleeve and a burr on the coil stop, this influence the movement and the travel distance for the plunger with poor function of the unit. In this case poor function of the flippers. When the crank is attached there shall be a distance in axial direction and a guide can be used between the flipper bushing and the crank. Adjustment of the EOS switch blade can be needed - when it is in open position a play of approx. 1.6 mm (0.062 inch) shall be measured.
WMS Eartshaker Playfield Rebuild
REBUILDING OF PLAYFIELD
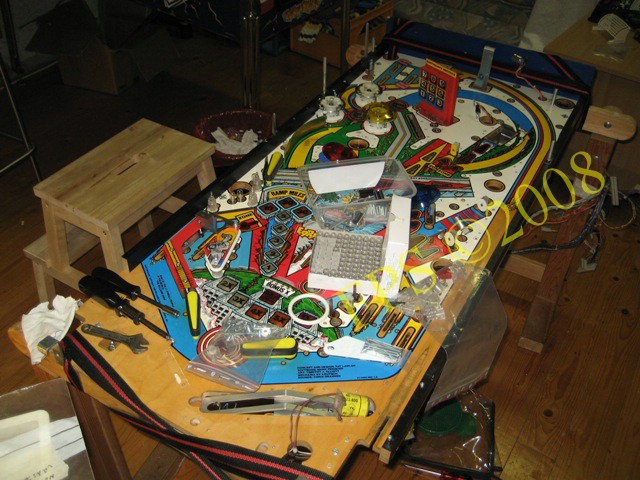
Then the fun work can start to rebuild the playfield parts - I really yearn to make the first play on the Earthshaker after around 90 hours of work.
 |
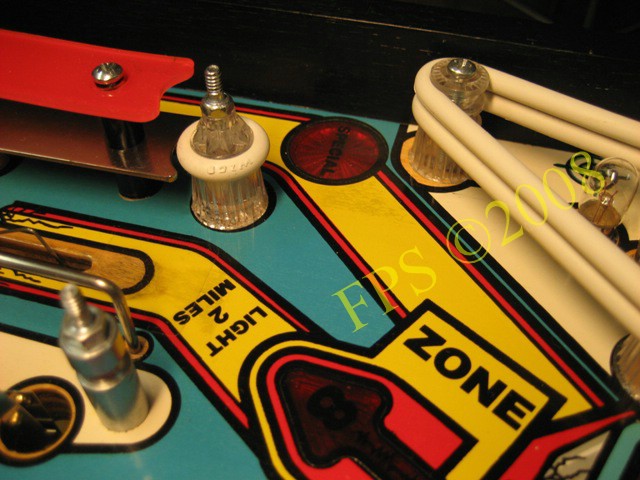 |
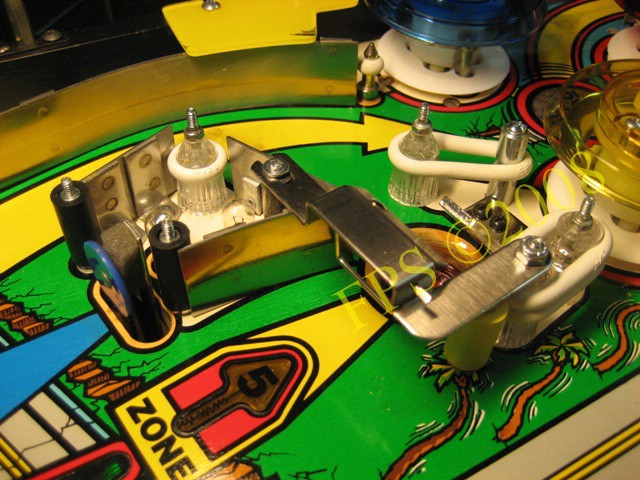
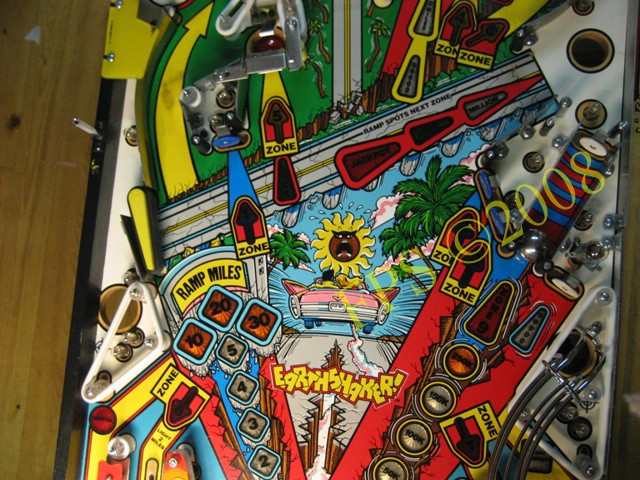
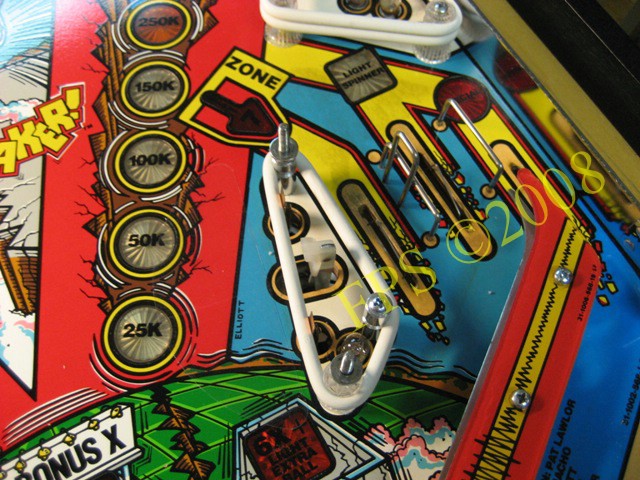
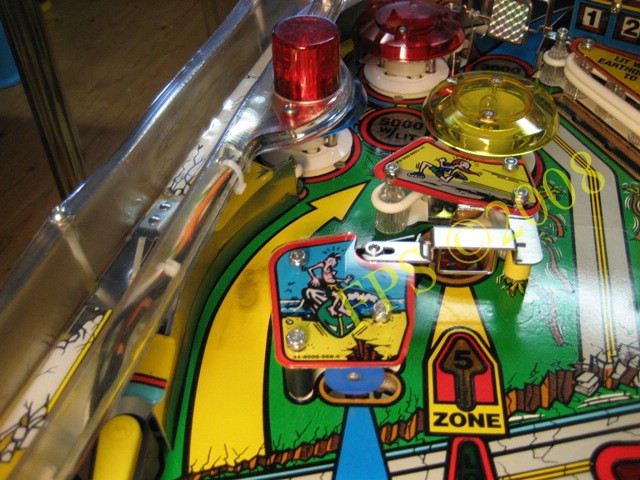
The pictures show the rebuilding around the areas zone 5 and zone 8.
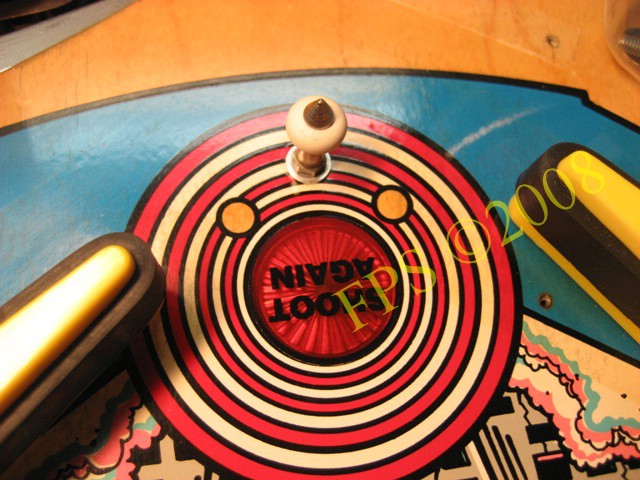
Shoot again painted around the area at the metal post.
The right side of the playfield with ball arch there was a beginning of wear after balls travel. I painted with yellow paint and a couple of varnish where applied in the wear spots so now the ball arch surface is nice and smooth.
Rebuilding of the left side of the playfield.

The area around jet Bumpers get very nice after painting and will be protected by bumper mylar.
 |
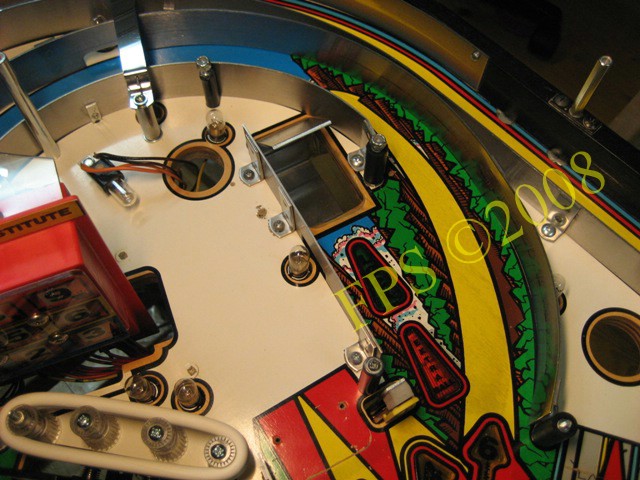 |
Some pictures of the top area of the playfield.
The upper part of the playfield rebuild before ramps is assembled.
 |
 |
The picture on the left show the middle part of the playfield and the right picture the lower part during rebuilding.
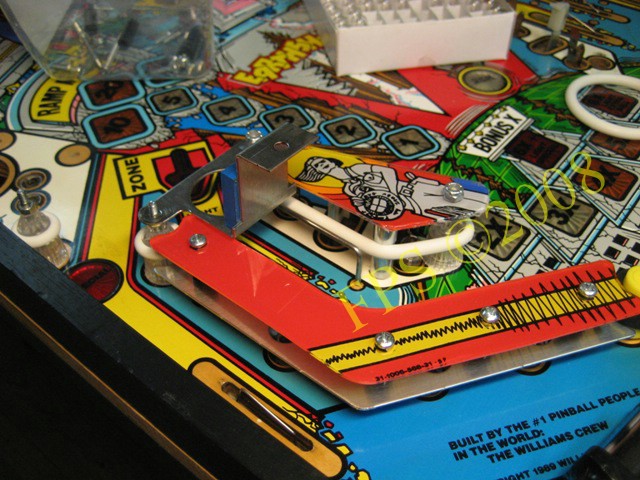
Rebuilding of area around captive ball.

Plastics in place at captive-ball and the lower metal ramp assembled.

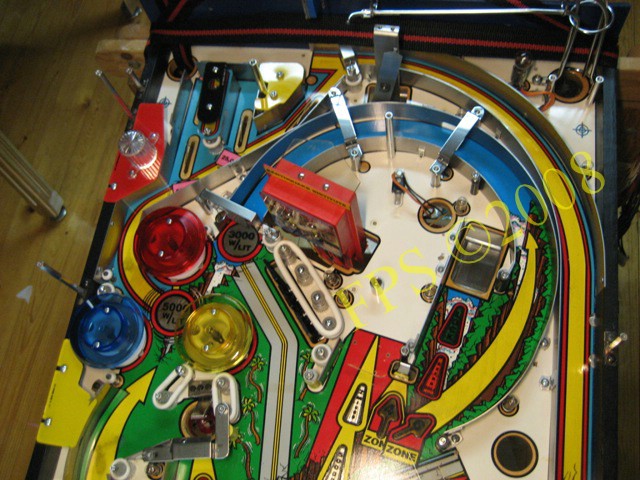
Overview of the complete rebuilding.
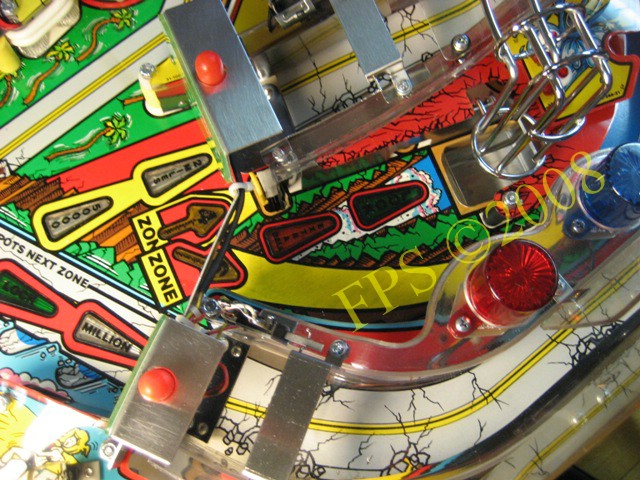
At zone 7 there is double inlanes. This is a little unusually and makes the play more interesting when nudging and try to save the ball from draining in the outlane.
At zone 8 there is one inlane. New lamps where attached and I use the #47 lamps which consume less current and develop less heat then the #44 lamps.
Here we can see the entrances to the right and the center ramps also the bridge assembly" above the ramps.
 |
 |
The right picture show the center ramps lower part at left inlane.
The center ramp went out well after the work to bend it to original shape, since the red dome lamp was hanging down as can be seen in the right picture.
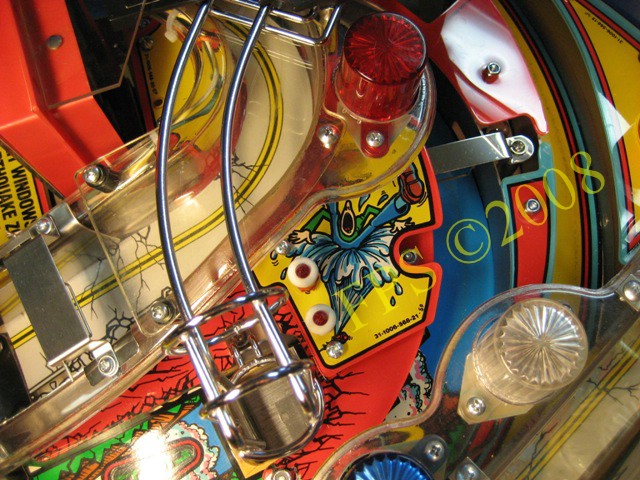
Here is almost all playfield parts assembled on the playfield right ramp Upper right Wire ramp which is connected with state assembly Nevada/California.
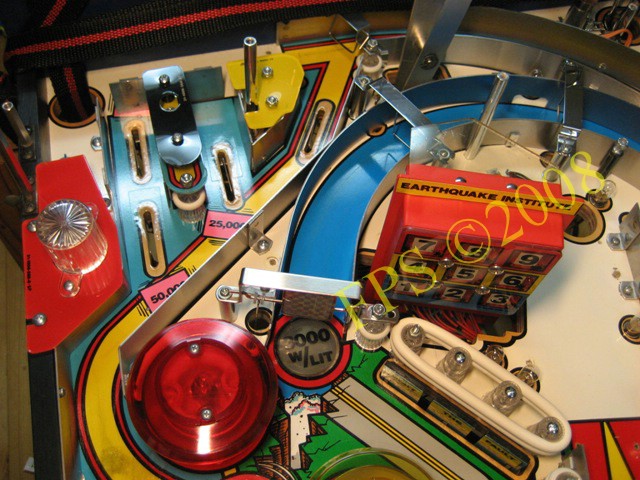
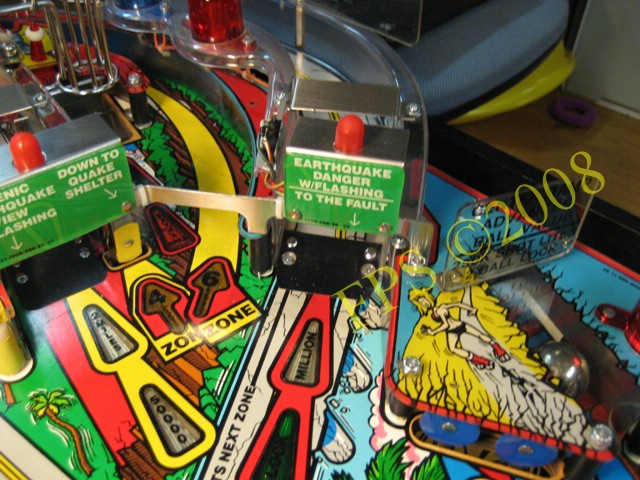
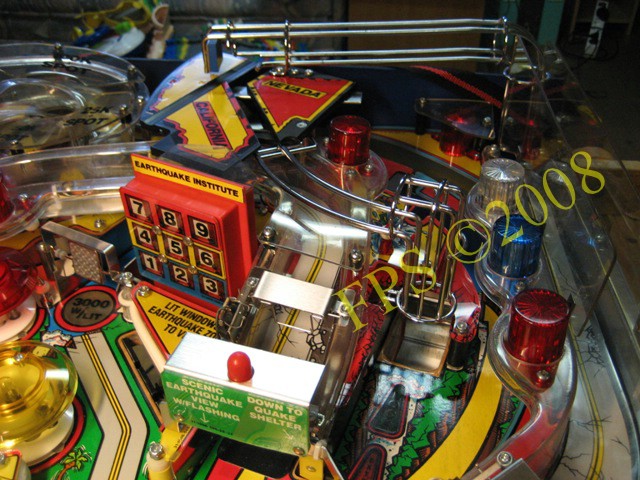
On the picture we can see "Earthquake Institute" the famous building which indicate the targets to be hit during game play to light the locks - which gives the possibility to lock a ball in either the drop hole or the right ramp (fault ramp). When two balls is locked the 3-ball multi-ball starts and then a jackpot can be light by shooting the ball in the center ramp and collected by passing the ball through the right ramp. Eartshaker also have a 2-ball multi-ball called Quick multi-ball.
On the 200 first manufactured machines the "Earthquake Institute" moving building was standard, later removed due to cost reduction - when Multi-ball is achieved the building was sinking down under the playfield - I had heard that there shall be one of this first made games in Sweden. Unfornately not mine, but there is a kit to be find by a enthusiast...
 |
 |
Pictures showing details.
I was really satisfied with the ramp protectors I made by my self when attached on the ramp. They shine nice and has a great shape following the ramps contour. It took me around 4 hours to make each protector but it was worth all work.
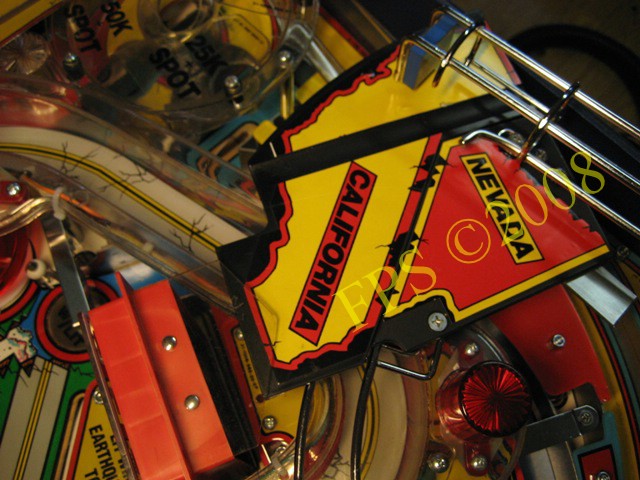
State assembly Nevada/California had a scratch which went from the letter E in Nevada down to the letter L in California I filled the scratch with acrylic paint and today it is not visible any longer.
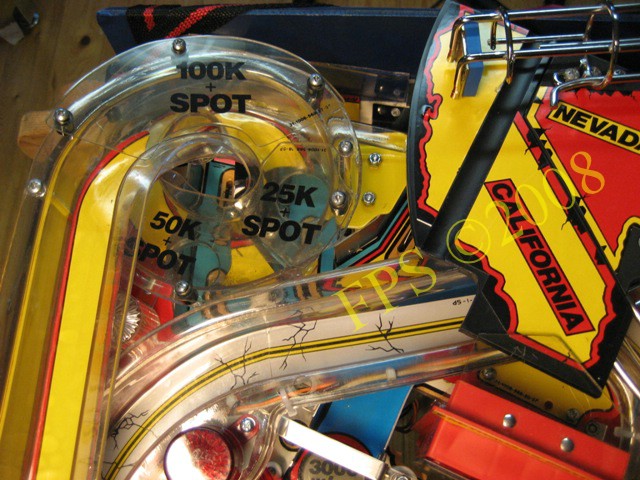
Detail picture of ramps notice 25K+Spot text repair went out well looking from distance.
THE CABINET
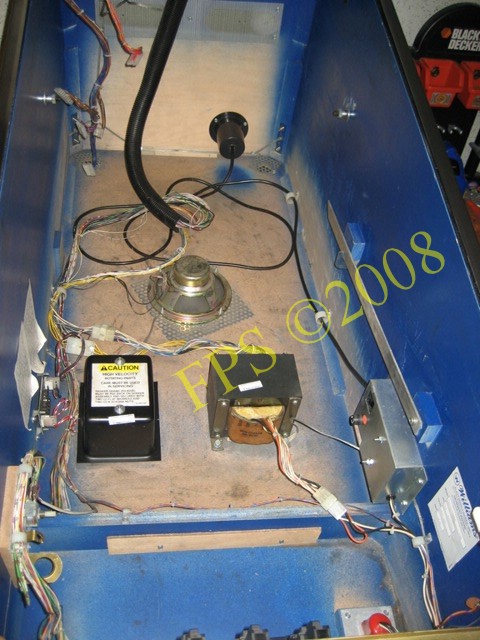
Cleaning of the cabinet was really necessary since it was covered with dust. Vacuum cleaning and wiped with a wet cloth mad it looking almost as new.
Pleasure and Pinball
© FPS. All right reserved. |
Page Last updated:
2008-08-02 |